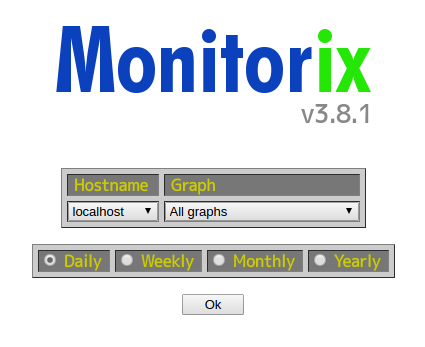
タグ: Monitorix
Linux Mint 17.1で、Monitorixのポート番号8080を変更する方法と、パスワードをかける方法。
[crayon]
$ sudo vi /etc/monitorix/monitorix.conf
#################################
# 26~40行目辺り
enabled = y
host =
port = xxxx (ここを変える。)
user = nobody
group = nobody
log_file = /var/log/monitorix-httpd
hosts_deny =
hosts_allow =
enabled = n (ここを’y’にすると、認証となる。)
msg = Monitorix: Restricted access
htpasswd = /var/lib/monitorix/htpasswd
#################################
$ sudo /etc/init.d/monitorix restart
[/crayon]
ポート開放などは、皆さん各自でやって下さい。
htpasswdはデフォルトでは、”/var/lib/monitorix/htpasswd”に置くことになっております。
http://www.luft.co.jp/cgi/htpasswd.php
などで、IDとPASSWORDを生成しましょう。
Linux用のhtpasswdコマンドで作ったIDと長いPASSWORDでは、認証が通らないので、お気をつけ下さい。
というのは嘘でした(笑)。
実は、Linuxの”htpasswd”というコマンドでも、Windows用の短いパスワードを作ることが出来ました。
次のようにして作ります。
[crayon]
# htpasswd -c -d /var/lib/monitorix/htpasswd Admin
######## これで、monitorix用のID AdminとPasswordが作れます。
[/crayon]
Linux Mint 17.1 Rebeccaにサーバー監視ソフト、Monitorixをインストールしました。
[crayon]
$ sudo apt-get install rrdtool perl libwww-perl libmailtools-perl libmime-lite-perl librrds-perl libdbi-perl libxml-simple-perl libhttp-server-simple-perl libconfig-general-perl libio-socket-ssl-perl
$ wget http://www.monitorix.org/monitorix_3.6.0-izzy1_all.deb
$ sudo dpkg -i monitorix*.deb
[/crayon]
設定ファイルは、
/etc/monitorix/monitorix.conf
です。カスタマイズ方法は、今回は省略します。
サイトへのアクセスは、
http://localhost:8080/monitorix/
です。
ポート開けなどの情報も今回は省略します。
当サーバーのMonitorixは、下記からご覧下さい。
http://thanks.linuxparadise.net:8936/monitorix/
 参照:http://tinyurl.com/lu8bprc


